If you’re looking for the best way to dye brown eggs – this is it! Read on…
Here in Ireland (and in some parts of the UK) the vast majority of eggs available for sale are brown eggs. (This contrasts with the US where white eggs are widely available.)

While there is almost no difference between the eggs nutritionally… brown eggs pose a bit of a challenge when it comes to trying to dye the eggs in pretty colours at Easter! Darker brown eggs just can’t take on the pretty pink, pale blue and spring yellow colours the way that white eggs can.

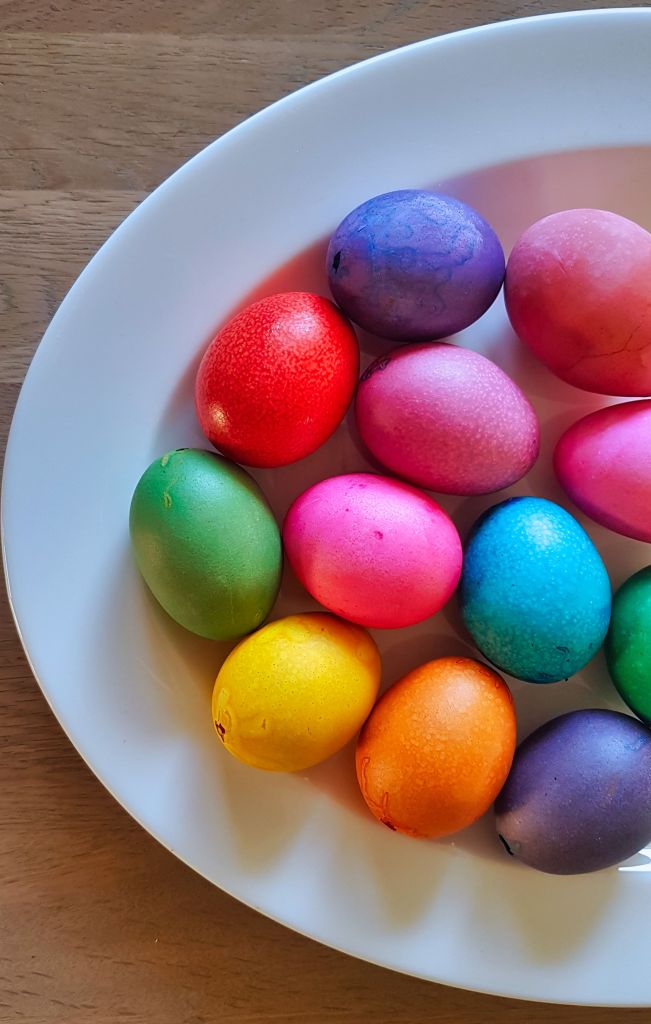
After several years dyeing brown eggs dark colours – deep red, navy blue, dark green – not exactly the pastel colours we associate with Easter and springtime! – we came up with a trick which allows us to dye brown eggs in an array of pretty, pale colours instead…
The secret? All you need is white vinegar and a little time…. in just a matter of minutes, the vinegar strips the colour from the brown eggs shells!
The vinegar will lighten the brown eggs to a pale cream or even a white and this allows you to dye them in a whole range of pretty Easter colours.

On the left: a brown egg; in the centre an egg which has lightened to a pale cream colour after being soaked in vinegar; on the right an egg which has turned almost white. We find different eggs lighten by different amounts but in every case the paler eggs can be dyed pretty spring colours.
STEP ONE: Lighten the colour of your brown eggs to make them much easier to dye in pretty colours!
Hard Boiled Eggs
You can soak the eggs in vinegar either before OR after cooking them. (We didn’t find the taste was affected using either method.)

I prefer to soak the eggs in vinegar after boiling as the vinegar can slightly weaken the eggshell, making the eggs a little more susceptible to cracking during the boiling process.
Simply boil the eggs as usual*, then cool rapidly under cold running water or in a bowl of ice. Transfer the cooled eggs to a bowl and cover with white vinegar. Set a timer for 5 minutes. After 5 minutes, remove the eggs from the vinegar and use a clean cloth to wipe away the brown coloring from the eggshell then rinse. The next step is to dye your newly lightened-colour eggs.
(If you decide to soak the eggs in vinegar before cooking, then soak the eggs for a little longer – approximately 7 minutes. Use a cloth to rub off the colour on the egg. Rinse and then proceed to boil the eggs. Cool the eggs under cold running water OR in a bowl of ice. The next step is to dye the eggs.)
*We place eggs in hot water and bring to a rolling boil for a total cooking time of 7 minutes.

Blown Eggs
Blown eggs are regular eggs, into which you make a couple of small holes. Through these holes, you blow out the contents of the egg (the white and the yolk), leaving just the empty eggshell behind. The advantage of these eggs, is that you can keep them for longer than hardboiled eggs and you can string them up easily to make hanging decorations etc.
Place your blown egg into a glass or jar of white vinegar – you will need to hold it down with a spoon or a skewer to allow the empty eggshell to fill with vinegar and sink down so that it is covered completely.
Leave the egg for about 7 minutes.
Remove the egg from the vinegar and then wipe the shell very gently with a cloth to remove the brown colour from the outside of the egg. Rinse. Now it’s time to dye the eggs!
Notes
- We use distilled white vinegar to lighten brown eggs. This is very inexpensive and widely available in supermarkets.
- When you place the eggs in vinegar you will see bubbles start to rise from the surface of the egg. This is the vinegar (acid) reacting with the egg shell (calcium carbonate) and releasing bubbles of carbon dioxide gas.
- You can remove your egg and replace again in the vinegar for a few more minutes if you’re not happy that the egg has lightened enough. Be careful though! I wouldn’t leave the eggs soak in vinegar for more than 10 to 12 minutes in total. This is because too much of the eggshell will be dissolved away and the eggs will be too fragile to handle easily.
- If you leave your eggs in vinegar for approximately 24 hours, the shells will dissolve completely!
- After the vinegar treatment, the eggs should lighten significantly in colour. Some will become very light in colour – almost white, while others will become a lighter cream colour. Either way, the lightened eggs will take on much more dye/food colouring than the original brown eggs.
- If you are dyeing hard boiled eggs for subsequent consumption, you should only use colourings which are designed for food use. To dye blown eggs, you can use any craft inks, paints etc.
- We used a range of food colourings plus some liquid watercolour paints that we had at home to dye our eggs this year. (See below for more information.) We only used food-safe colours on our hard-boiled eggs which were subsequently eaten!
STEP TWO: Dye the lightened brown eggs in pretty colours!
Fill a glass or jar with about 150ml (or 3/4 cup) hot water and add three teaspoons white vinegar along with several drops of your chosen food colour/dye. (When using gel colours, we scoop a small amount of the gel onto a cocktail stick and then swirl this into the hot water to dissolve.)
The dye-baths should be quite a deep colour to ensure that you get a good colour on your eggs.

The hot water and the vinegar help the food colour/dye to adhere to the egg shell. You can use cold water instead of hot, but you may need to leave the egg in the dye-bath for a longer time to achieve a good colour.
Gently lower your egg into your chosen container and leave for 10 to 15 minutes. (Hard boiled eggs will sink immediately. Blown eggs will need to be pushed gently below the surface of the dye-bath using a spoon so that the empty eggshell can fill with liquid, allowing it to sink to the bottom of the container. )
After this time, use a spoon to lift the egg up and check on the colour. If the colour isn’t as vibrant as you’d like, replace the egg into the dye-bath for longer and/or add some more food colour/dye to the water. Experiment with different amounts of food colour and different lengths of time soaking in the dye to achieve the desired egg colours.
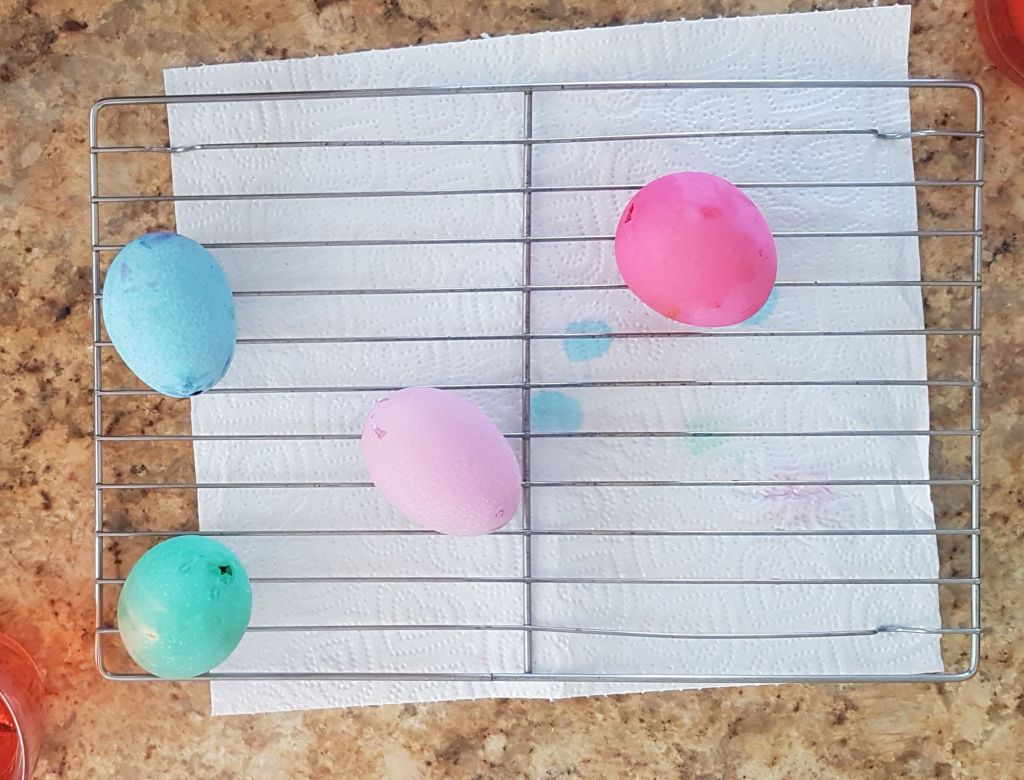
When you’re satisfied with the colour on your eggs, place them on a cooling rack positioned over some kitchen paper to allow them to dry.
Notes
- When making a dye-bath for boiled eggs, be careful not to overfill your jar/glass. This is because the dye may overflow from the container when you drop in the eggs!
- When making a dye-bath for blown eggs, you may find you need to add a little extra water after putting the egg into the container to ensure the egg is completely submerged. This is because a lot of the dye will fill the empty egg shell.

Food Colours and Dyes (together with links below):
These are the various food colours and paints we used to dye our Easter eggs this year. For the yellow egg we left the egg in the dye-bath for approximately an hour. For the pink egg in the top left of the photo, the egg took on a beautiful pink blush colour after just 10 minutes in the dye-bath.

- Wilton Icing Colors – these are vibrant, gel colors.
- Worldwide: https://www.candylandcrafts.com/GEL-PASTE-COLORS-8/ (contact them for international delivery)
- Ateco Spectrum Gel Food Color (difficult to find online)
- Mallard Ferrière Liquid Colouring – this is a liquid food colouring often available from catering supply stores.
- Goodalls Food Colouring – this is a liquid food colouring.
- These are available in local supermarkets in the UK and Ireland e.g. Tesco
- EC Washable Watercolours Paint – these liquid watercolour paints are made in Australia.
Note:
We found that the Tesco own brand blue food colouring and the Goodalls green food colouring were NOT effective in dyeing eggs.

The vinegar trick worked great for me. Thanks so much!
LikeLiked by 1 person
Hi great readiing your post
LikeLike
Thanks for your post.
To make the dyed eggs shiny and glossy, try wiping them over with some white fat from speck or bacon. Olive oil will also work. My Croatian mother did this with great success.
LikeLiked by 1 person
Great tip. Thanks!
LikeLike